17.2.11

A Sweater for Ysa

Back in the olden days when I was a child visiting my grandparents on the farm, my grandma taught me how to knit. Since it was so very long ago, I cannot say for sure if I took to the concept because I thought it was really cool or if I was simply needing something to do, but whatever the case I turned out slippers, scarves and potholders galore for a while. The knitting project paled though as I entered my teens and got lost by the way. From time to time (very infrequently it must be said) I have pulled out the needles and made something. The idea appeals but getting started..... well, hmmmmmm. Yes then.


One of the projects I started when we went on our little time out in Fairmont was a sweater for Ysa. It was something I had picked out before she was born - before we even knew of she was she or he. Life has been quite demanding since her birth and it was a treat to be able to sit and knit and reflect. I must make clear that I am not an expert knitter - there is much I would like to learn - but I do love it. One of the things I like less about knitting is the lesson in delayed gratification. I cannot turn out a sweater or a pair of socks in an evening say. But this little sweater knit up very quickly. I can attest to that because it is finished and went home with Ysa today. 


Late yesterday afternoon it looked like this:


At 9:00 this morning it looked like this:


And at 10:30 this morning it looked like this:


Adorable I think. No. I know! Could be the baby that is really so beautiful but I think the sweater suits her. The yarn is an amazing blend of Italian merino wool, microfibre and cashmere. Heavenly soft. And it is machine washable too, so it is not entirely impractical for an infant. If you could feel it you would have chosen it too. And the color is so perfect with those wide blue eyes. The sweater is a little big (note the stylishly rolled sleeves) but that just extends the wear. Her mom was so excited about it that we made a little bonnet to match out of some fabric that Merin and I had chosen for a quilt that didn't get made. Nice to think that Ysa is using something Merin chose, I made and Eden thought of. 


The bonnet was made from a doll pattern that I enlarged - I need to rework it but it is still adorable. Or maybe it is the baby again! Pretty much sure that's it. Don't you love the love there between mom and babe?

Eden said something about feeling the need for a photo shoot with this outfit. I cannot wait to see her pictures. I love her work!

16.2.11

The Danish Puff Tea Party


A tea party!  Gabby needs to try Danish Puff. And the rest of us simply needed to have some. Poor Gabby, the sweetest niece -ever- had never had one of our family's favorite treats (her mom can't eat wheat or dairy so....). The two of them were going through some old recipes and Gabby wondered about that one. Shannon loved it well (enough so that she knows she has no control when it is around - nor do I or anyone else I know for that matter!) and wanted Gab to try it. So we had a tea party - for sisters (and little girls cousins).


The perfect excuse to get together, use pretty things, drink teas and eat yummy treats in the middle of the day, in the middle of the week - just because. Doesn't get much better than that.


The recipe has been around forever and I don't know where it came from. What I do know is that it is a great combination of flavours and textures. The crust is nice and short. The middle settles to a nice, slightly chewy -almost custardy- texture with a crisp light top and the almond butter icing is the perfect irresistible finish. I am seriously craving some now!


Danish Puff


 1/2 cup  unsalted butter cut into 1 cup flour
blend in 2 Tbsp water
- pat mixture evenly onto 10x15" baking sheet.
(It will be a thin layer and takes a bit of patience to get there.)


Bring to boil:
1 cup water
1/2 cup unsalted butter
Remove from heat and add 2 tsp almond extract. Add 1 cup flour and 1/4 tsp of sea salt, beating well. Add 3 eggs, one at a time, beating well. Spread over dough on cookie sheet.


Bake at 425 F. for 12 minutes then lower the temperature to 350 F. and continue baking for another 15 minutes. Do NOT open the oven door during baking.


While the pastry is still warm finish with the almond butter icing. It will melt, yes, but that's what you want. While the icing is warm, sprinkle with flaked almonds. Cut into thin rectangles to serve - or just sit down with the pan and have at it!! lol


Almond Butter Icing


2 cups powdered sugar
1/3 cup butter
2 Tbsp cream
1 tsp almond extract


Beat together until smooth. It may be necessary to add a little cream if the icing is too stiff.


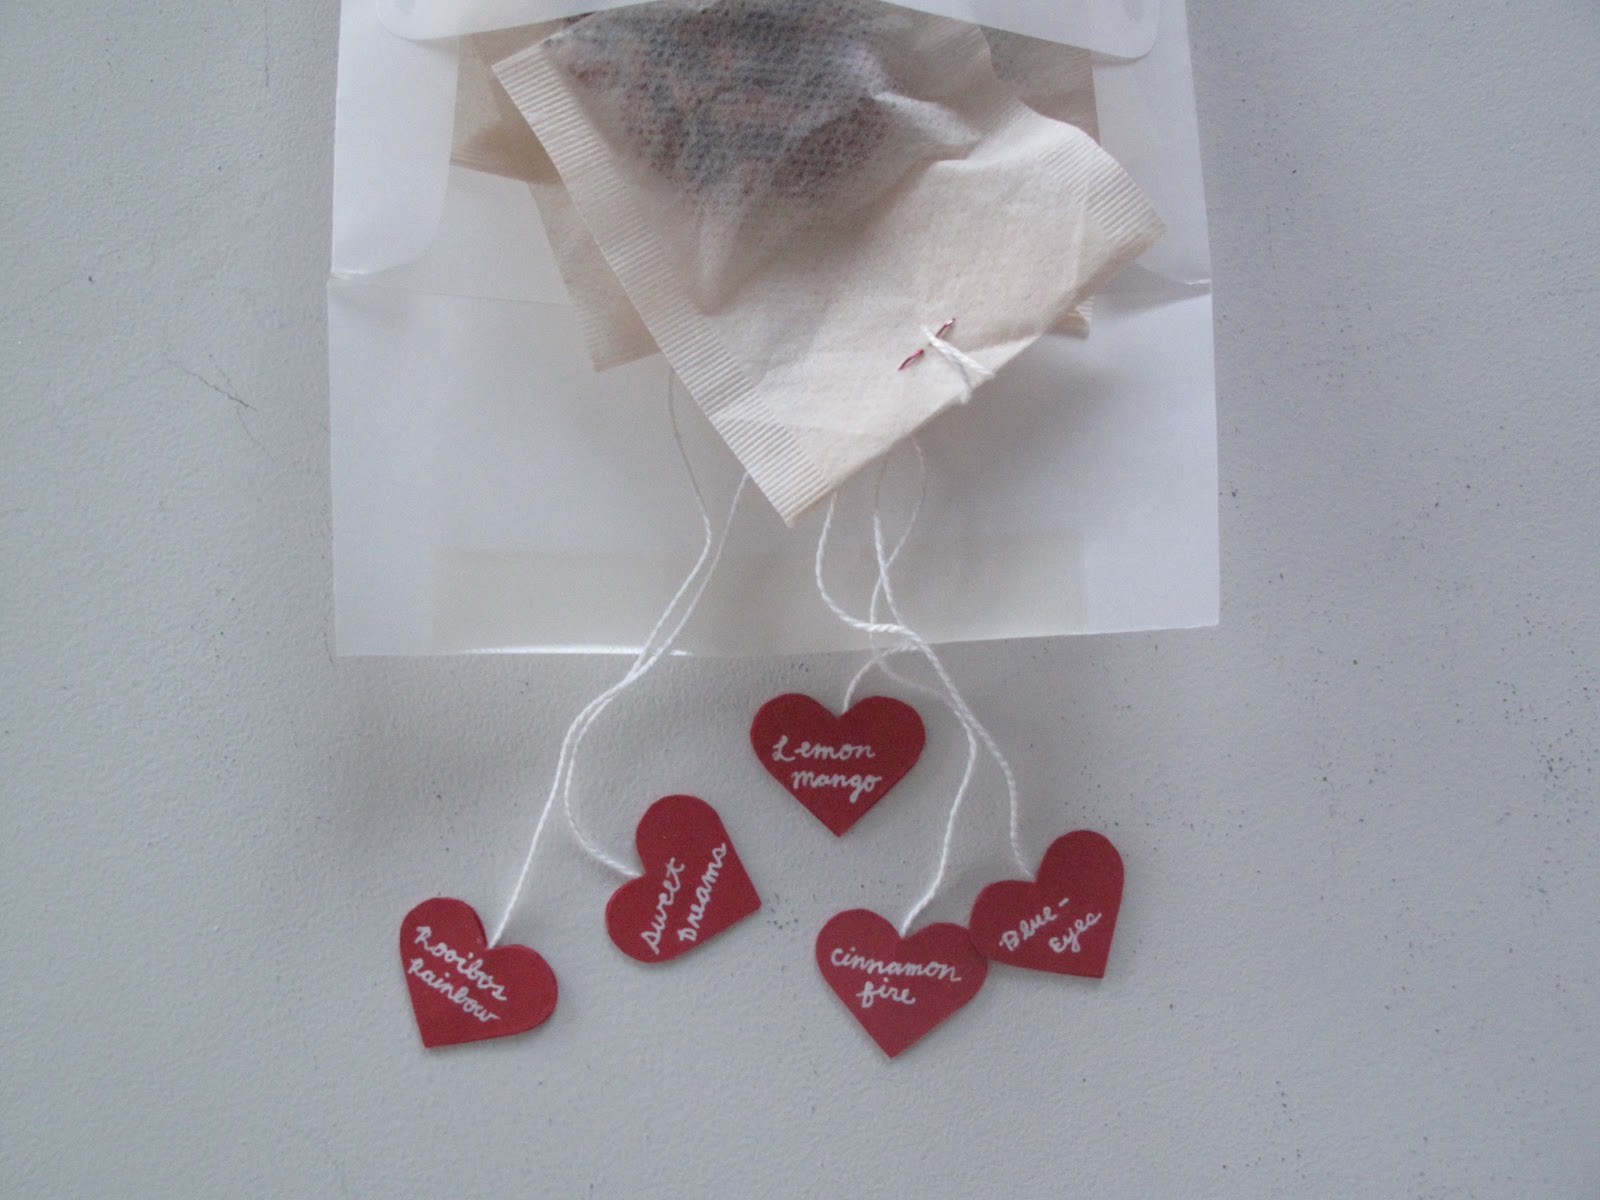
Gabby made these adorable tea bags with an assortment of her favorite loose-leaf caffeine free teas. I love the way they look and, oh my, they were delicious. My personal favorite teas come from The Secret Garden in Vancouver. It is an absolutely perfect little tea house and they sell some of their teas. I love any of their Rooibos 'teas' and always bring some home or beg them from Jonathon.

14.2.11

How Do I Love Thee?


I love you. Such a simple phrase, so much employed. I know I say it often - and often when I say it I think about what I mean when I say it. And I wonder, and hope, that when I say 'I love you' my shorthand will be understood. Because for me it is shorthand for oh-so-many things. 


When I say 'I love you' I mean: 
I think  you are wonderful, capable, talented. 
I feel secure and happy when I am with you. 
I know that you can do amazing things, that I am in awe of your skills and abilities. 
To me, you are incredibly beautiful. 
You delight me. 
You inspire me.
I like to be, and want to be, with you.
I miss your presence when we are apart.
I would do anything for your happiness and comfort.
I have confidence in you.
I trust you.
You mean the world to me.
You are absolutely precious, unique and irreplaceable.


All that and more. Truly. I mean it and hope it is felt. I really do. 


Happy Valentine's Day.

10.2.11

Marshmallows with Jane


Thursday's are special since Christmas because now that Jane is 3 she is old enough to go to the preschool ballet class on Thursday afternoons.  Theo stays with me because at (just) 1 he still needs a nap. Most weeks, Hannah and kids come over late in the morning to play for a bit before it is time for the serious business of lunch, doing "ballet" hair, getting Theo to bed and Jane off to class. Sometimes just to make the day even more special Eden and her girls come too. But not today.


Today Jane and I had just enough time to make pink marshmallows. She was the sweetest little helper and after helping was even sweeter - if a little sticky.


Marshmallows

3 envelopes of Knox unflavoured gelatin
1/2 cup cold water
1 tsp pure vanilla extract
1/2 tsp almond extract
2 cups granulated sugar
1/4 cup corn syrup
1/4 cup water
1/4 tsp sea salt
powdered sugar and cornstarch for dredging

Line a 9x13" pan with foil and spray foil generously with cooking spray.

Sprinkle gelatin over 1/2 cup water in a large bowl. Soak for at least 15 minutes.

Combine sugar, corn syrup, and 1/4 cup water in a small saucepan over medium-high heat and bring to a boil. Boil for 1 minute. Pour boiling syrup into gelatin* and mix at high speed. Add the salt, vanilla, and almond extract and continue beating for about 10-12 minutes or until white, glossy and stiff peaks form. Scrape into prepared pan and shake to spread evenly. If you want to smooth it more than this you can use a wet spatula or even wet hands.

Let the mixture sit at room temperature for 30 minutes (or more). Mix together equal measures of cornstarch and powdered sugar - I use about 3 Tbsp of each. Turn marshmallow out onto a cutting board that has been dusted quite liberally with the cornstarch and sugar. Peel the foil off and sprinkle the exposed candy with more powder. Cut with a sharp knife that has been dusted with the powder as well. (You will need to keep dusting the knife after pretty much every cut - or things get very sticky and get ugly fast.) Roll the cut marshmallows in the sugar mixture.... or coconut, or cocoa and powdered sugar, or cinnamon and sugar, or toasted coconut, or...you get the idea.

Store in an airtight container - if there are any left!

*Most recipes I have read say to pour the syrup in a thin stream over the gelatin but once (because I was in a hurry and didn't read carefully enough) I just dumped the whole thing over the gelatin and started to mix. Happily, it worked just fine and so that is what I do now. You can choose your method but for me, easy always wins (as long as it also works).

Notes: 
Jane and I wanted pink marshmallows today so we added a tiny dab of pink food colouring paste just we started the beating process.

The sky - or your imagination - is the limit when it comes to flavouring marshmallows. Chocolate (cocoa), cinnamon, licorice, mint. Whatever I have tried so far has been yummy.


And that is a pretty cute pile of pink!

9.2.11

Time Out


Last week David and I went to Fairmont. My brother Mike and his wife Michele have a time-share condo there and they ever so kindly invited us to join them. The holiday that they outlined when they extended the invitation sounded lovely but the reality exceeded the expectation, at least for me. It was - simply - quite blissful. We did only what we wanted to do. Period. 

Mike and Michele have both experienced loss that has been profound - his wife and her son - so they truly do know. It is both comfortable and comforting to be with them because there are no demands, no expectations - just  understanding and companionship. They have been an incredible source of help and love not only to David and I but to all of our family. They have had Eden's little ones overnight. Mike has worked at Mike and Merin's for hours and hours. Michele (a nurse in the NICU at Rockyview Hospital) spent several nights with us at the Children's Hospital helping with Ysa - and that after a 12 hour day in the nursery. Food, help, love. So freely offered, so generously given. 

Mike is two years younger than I. When we were children and would bicker as all children do, I remember my father teaching me that it was important to treat my brother with love because he would be one of the best friends I would ever have. We were great friends as children and then, indeed, best friends as teenagers but it is only now that I truly understand what a tremendous blessing that friendship is. In Fairmont as Mike worked on the puzzles that he loves to do, I remembered his absorption in dismantling a clock or building with Meccano - his round cheeks flushed, little boy eyes sparkling - and I felt such a surge of love for him and gratitude for the years of friendship.

The relaxed pace of a holiday where we slept late, ate well, went skiing - or stayed in and read, or watched old movies (in the afternoon!!!!), or worked on sewing projects - that was lovely. But the bliss was being with one another and with others we love who also love us. Thanks Mike and Michele for all of that. It was the perfect time out.


7.2.11

Felted Wool Heart Scarves


Valentines's Day is coming. Perfect motivation to be creative - and with two sweet, sweet little girls in mind - the wheels started turning. I decided to make scarves for them out of felted sweaters. So off to Value Village to buy a few previously loved sweaters for the project. I was amazed at the apparently large number of people who wash - and dry - wool sweaters. By machine. In hot water. Seriously interesting. (There was even a lovely pink cashmere sweater from BCBG that I don't think had started life sized to fit a 2 year old.) Anyway, a stranger's loss was my gain since this was exactly what I was looking for. I chose six sweaters in shades and patterns that seemed roughly "valentine's-ish", carted them home and got to work.


Felting sweaters is easy and ... fun! (You get to do what you really shouldn't and it works out well. How often does that happen?!) Just toss the 100% wool sweaters in the machine with a healthy amount of detergent and run the cycle with hot water. Put them in the dryer on hot. Repeat. And voila! perfectly miniaturized sweaters that are nicely felted. I cut the sweaters apart at the seams, pressed them lightly, and cut out a bunch of 3" hearts from one sleeve of each sweater.


Next I lined the hearts up in a way that appealed to me and sewed them together using Pearl Cotton. I use 'sew' loosely because really I just made a couple of stitches and then tied a knot leaving the ends showing. Just for fun I embroidered an initial on each scarf.  Done! 


I would like to be all "Oh this old thing?" - kind-of-cool about this project but really I am pretty tickled with how it turned out. More "Look, look, look!" than cooly uncaring but, what's the big deal with cool?I love how the hearts look a bit like flower petals. I love how the little girls played all afternoon wearing their new scarves. More magic.

6.2.11

Caramels with Mediterranean Sea Salt


I had meant to post this recipe before Christmas - but everyone knows what happens to things one means to do before Christmas. At least I always have a pile of ideas that I never get to in time. When the post didn't happen, I thought 'no worries, just do it next December' but then Jonathon relayed the info that his friend Allie wanted the recipe (I am guessing he shared some of what I sent home with him at Christmas time) and I decided that it made all kinds of very good sense to share the recipe as a Valentine's Day treat. For some people it isn't a real treat unless it involves chocolate - others (myself) prefer something caramel-y and salted. So if you know someone like that try a batch of these to say "I love you more than the whole world!"


Caramels with Mediterranean Sea Salt


1 cup unsalted cultured butter*
2 1/4 cups brown sugar
2 tsp sea salt
1 cup corn syrup
1 15 oz can sweetened condensed milk
1 tsp vanilla


Melt butter in a large heavy saucepan. Add sugar and salt; stir thoroughly. Add corn syrup and milk, stirring constantly. Cook and stir over medium heat until just past firm ball stage (245 degrees) or about 12 to 15 minutes. Remove from heat, stir in vanilla. Pour into buttered 9x13" pan. Sprinkle with flaked sea salt (like Maldon's) to taste. I was pretty liberal with the sprinkling - but I love salt! Cool completely, cut into squares and wrap in waxed paper.


*good butter makes a huge difference here. Don't cheat yourself and buy any old butter - or worse, use margarine. Just don't.


Note: for an accurate reading on your candy thermometer, boil a pan of water noting at what temperature the water boils. All recipes assume that water boils at 212  degrees F but of course, that assumes we all live at sea level. If you want a happy outcome when making candy, do the check and then adjust your recipe. For example if water boils at 202 degrees and the recipe says to cook to 245 degrees, subtract 10 and cook to 235 degrees. (Clear as mud right?) You can also check the candy hardness by dropping a bit of hot candy into a glass of very cold water. This caramel should be very firm not hard. Good luck and have fun. It isn't hard and is always going to be delicious. It is, after all, salted and caramel!


Sorry the recipe is a week late Allie - this really was my first opportunity. I was too busy taking a holiday.